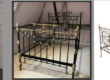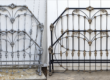
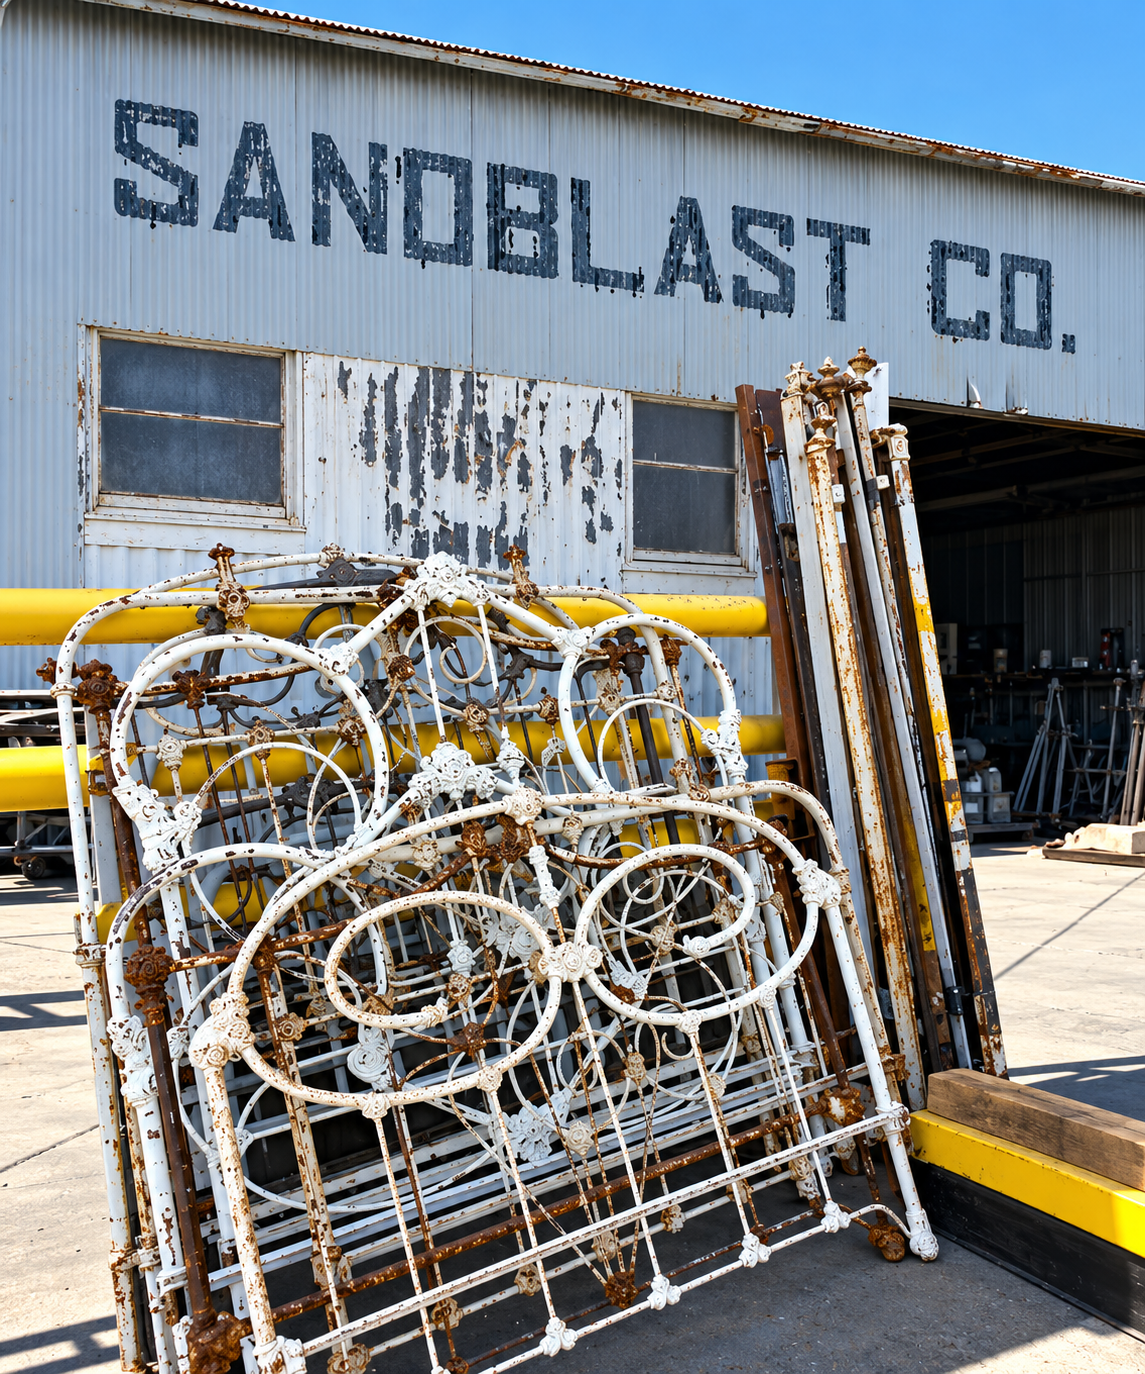
Restoring an antique iron bed begins long before you pick up a wire brush, open a can of paint, or send the frame out for sandblasting.
The first question is much simpler:
What do you want the finished antique iron bed to look like?
After more than 50 years of working with original antique iron beds, I’ve learned that there is no single “correct” finish for every bed. Some beds should retain every chip, worn spot and bit of age they have acquired over the past century. Others need to be taken down to bare metal and completely refinished. Still others provide the perfect canvas for creating a distressed, crackled finish that looks as though it has been aging naturally for generations.
The important thing is deciding which direction you want to go before restoration begins.
Option 1: Preserve the Original Distressed Finish
 One of the biggest mistakes people make when restoring antique iron beds is assuming that old paint automatically needs to be removed.
It doesn’t.
In fact, an authentic distressed finish can be one of the most attractive features of an antique iron bed.
Old iron beds often have layers of paint accumulated over many decades. There may be chips revealing earlier colors underneath, areas of oxidation, worn edges and variations in the surface that simply cannot be duplicated perfectly with new paint.
That is patina—and sometimes the best restoration is the one that interferes with it the least.
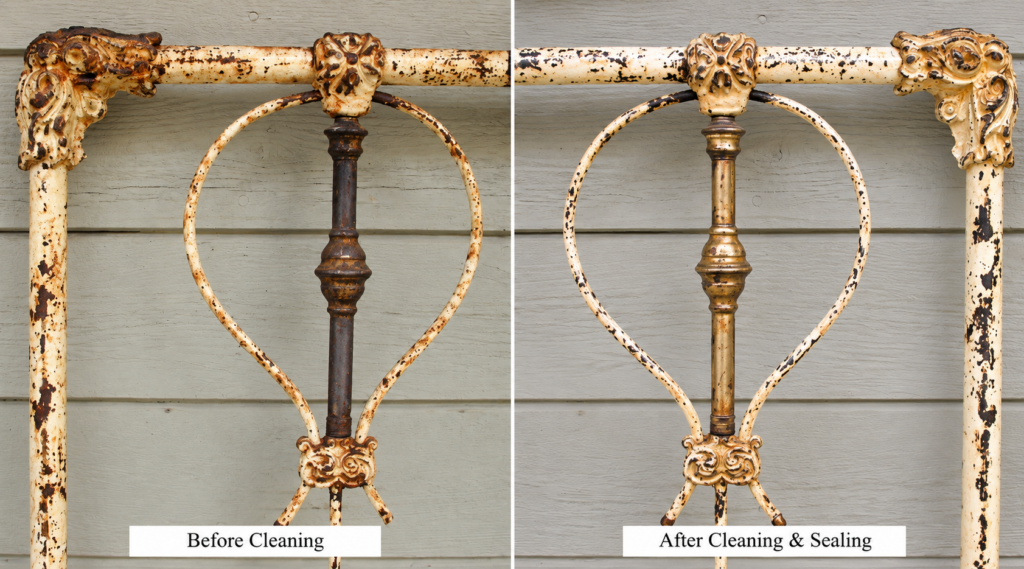
If the existing finish is attractive and reasonably stable, we may simply remove loose and flaky material with careful brushing, clean the surface and preserve what remains.
Once the surface is properly prepared and completely dry, an appropriate clear protective coating can be applied to help seal and stabilize the existing finish.
The objective isn’t to make the bed look new.
It’s to make the bed look like a beautifully preserved antique iron bed.
There is an enormous difference.
Those scratches, chips and irregularities are part of the bed’s history. Once an original finish is completely removed, that history cannot simply be put back.
Option 2: A Clean, Newly Painted Finish
 Sometimes the existing finish isn’t worth saving.
A bed may have been painted numerous times with incompatible coatings. It may have heavy rust, badly deteriorated paint or colors that simply don’t work in the room where the bed is going.
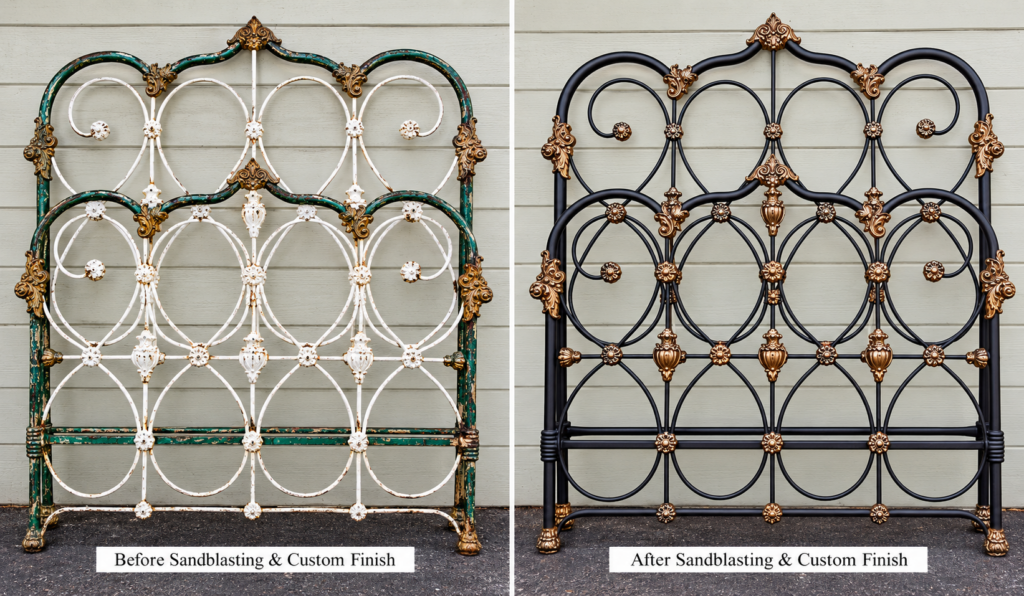
If the goal is a clean new finish, we generally prefer professional abrasive blasting to properly strip a suitable bed and prepare the metal for refinishing.
Why?
An antique iron bed isn’t simply a collection of straight pieces of tubing. Many American iron beds from the late 1800s and early 1900s incorporate elaborate cast-iron details, joints, scrolls and ornamental castings.
Old paint and corrosion can accumulate in all of those areas.
Proper blasting can remove paint, surface rust and debris from places that would be extremely difficult to clean thoroughly by hand, while providing a properly prepared surface for a new coating.
However, before aggressively stripping any antique bed, consider whether its existing finish has historical or decorative value. Old coatings can also contain lead or other hazardous materials, so appropriate professional safety procedures are important.
Once a bed intended for complete refinishing has been properly stripped, the next step is crucial:
Primer.
And this is one place where shortcuts can come back to haunt you.
Primer Is More Important Than You Think
A beautiful finish is only as good as what is underneath it.
After blasting, the bare metal needs to be properly cleaned and protected with a high-quality primer compatible with both the metal and the finishing system being used.
This becomes particularly important when creating specialty finishes.
I learned that lesson the hard way.
Early on, I was experimenting with acrylic paints and distressed crackle finishes. Everything looked great—until the crackle medium began drying.
Then I started finding strips of my beautiful new finish lying on the floor.
What happened?
The crackle medium was doing exactly what it was supposed to do. As it dried, it contracted and created the desired cracking effect. But the paint underneath hadn’t bonded strongly enough to the metal.
Instead of merely creating cracks in the top layers, the contracting material pulled large sections of paint right off the bed.
It was frustrating, messy—and educational.
The lesson stayed with me:
Never underestimate the importance of the primer.
When creating a multi-layer finish on metal, particularly one involving crackle mediums, every layer depends upon the adhesion of the layer beneath it.
Option 3: Creating a Distressed Antique Faux Finish
What if the original finish isn’t salvageable, but you still want the bed to look old?
That’s where faux finishing becomes interesting.
We have created distressed finishes on antique iron beds for decades, sometimes matching wallpaper, fabrics, linens or other elements in a designer’s room.
The objective isn’t simply to paint a bed and then beat it up so it looks old.
A convincing antique finish needs depth.
After the bed has been properly stripped, prepared and primed, different layers of compatible color can be applied. Depending upon the desired effect, a crackle medium may be incorporated between layers.
As the crackle develops, portions of the underlying color become visible through the topcoat.
Additional distressing can be concentrated naturally around castings, edges, joints and areas where a finish would realistically have worn over time.
The difference between a convincing distressed finish and an obvious faux finish is often restraint.
A 120-year-old bed shouldn’t look as though every square inch aged in exactly the same way.
Real age is irregular.
Be Very Careful With Chemical Paint Strippers and Water
 One restoration method I have never liked for antique iron beds is the casual recommendation to coat the frame with chemical stripper and then simply wash everything off with water.
Think about what we’re working with.
Iron.
And what is one of iron’s greatest enemies?
Moisture.
Water can penetrate joints, seams, tubing openings and detailed castings. If moisture remains trapped where you can’t see it, corrosion can begin before the new finish is even applied.
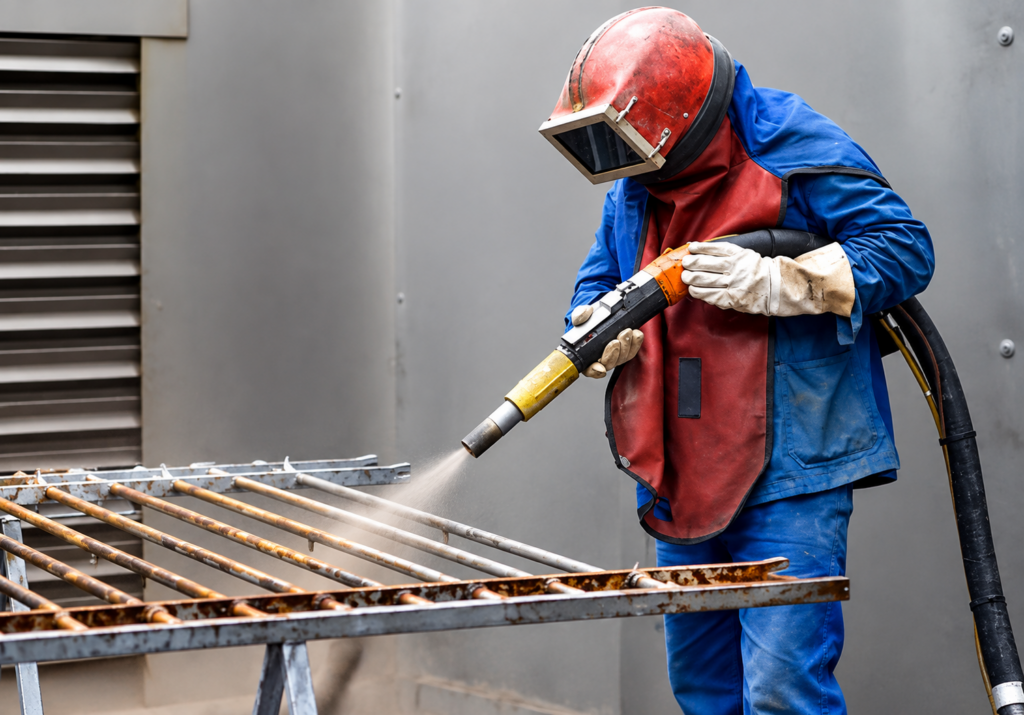
Chemical stripping can have legitimate applications when handled by knowledgeable professionals, but for the complete refinishing of the antique iron beds we work with, controlled abrasive blasting has long been our preferred method.
It removes old coatings and corrosion while providing the properly prepared surface we want for the new finishing system.
Don’t Automatically Remove 100 Years of Character
This may be the most important point in the entire discussion.
Restoration does not always mean making something look new.
We live in a time when people are sometimes too quick to erase the very qualities that make an antique special.
An original antique iron bed that has survived for 100, 125 or even 150 years has earned some scars.
Before stripping it, look carefully at what’s already there.
Is there an old ivory finish showing traces of green underneath?
Does a black bed reveal hints of an earlier gold treatment around its castings?
Are there areas of natural oxidation that beautifully emphasize the details?
Those aren’t necessarily defects.
They may be exactly what gives the bed its personality.
Once sandblasted away, authentic age is gone forever. We can create a beautiful faux distressed finish, but we cannot recreate the actual history that was removed.
That is why the decision about the final appearance needs to come first.
The Best Restoration Starts With a Decision
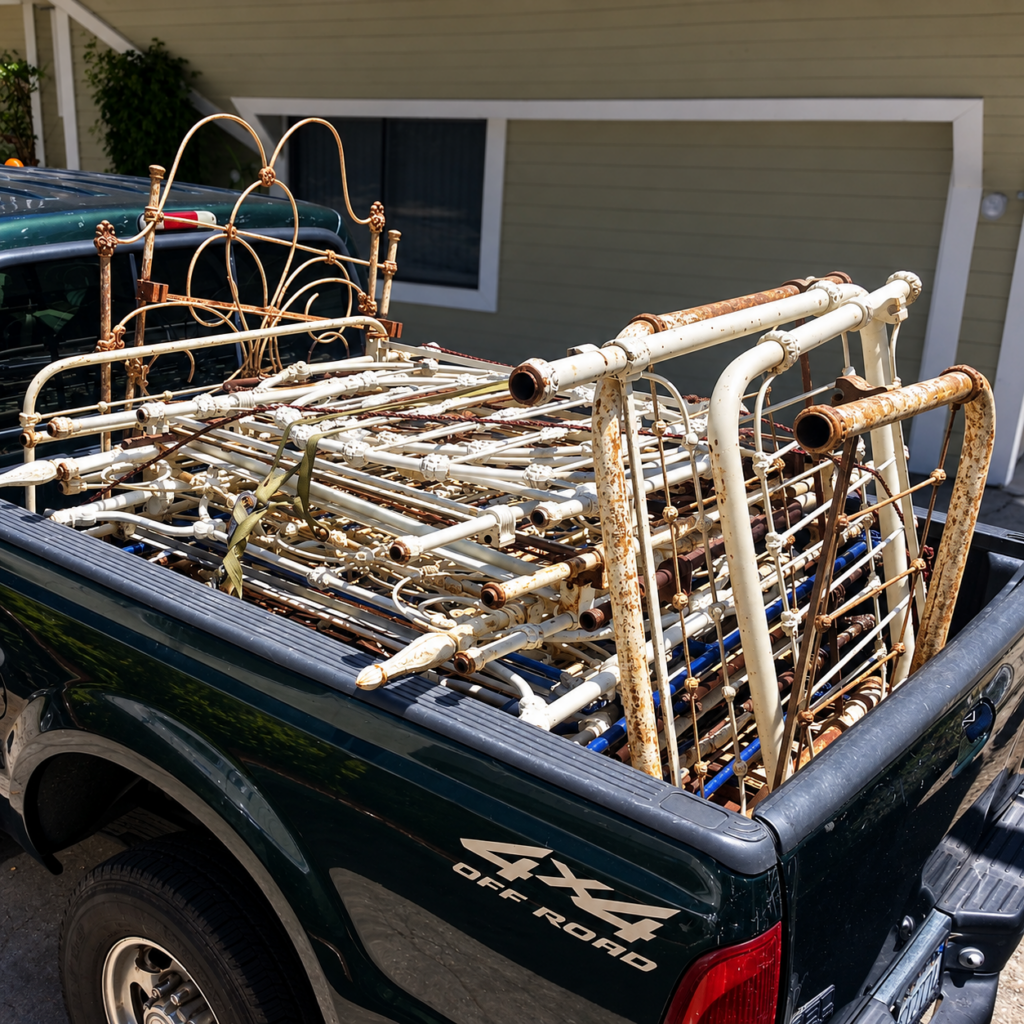 Before restoring an antique iron bed frame, ask yourself three questions:
Do I want to preserve what is already there?
If the original distressed finish has character and is stable enough to save, carefully cleaning and sealing it may be all that’s necessary.
Do I want a clean, freshly finished bed?
If so, the frame may need to be professionally stripped to properly prepared metal, primed and refinished.
Do I want an antique-looking finish in a different color?
Then a professionally prepared surface followed by quality primer and carefully layered faux finishing can create the aged appearance you want without pretending the finish is original.
There is no universal answer.
A highly ornate Victorian iron bed may look spectacular in its worn original paint. A simple early-1900s iron bed might come alive in a clean satin black finish. Another bed may be perfect for an aged French blue, old ivory, distressed gold or layered crackle finish created specifically for the room.
After working with antique iron beds for more than half a century, I’ve come to believe that good restoration isn’t about making an old bed perfect.
It’s about understanding what you have—and knowing when to restore it, when to recreate it and, perhaps most importantly, when to leave its history showing.
At Cathouse Antique Iron Beds, we specialize in original American antique iron beds and the restoration, preservation, custom finishing and conversion of these historic pieces. Every bed is different, and every finish should begin with the same question:
What will allow this antique iron bed to look its best without losing what made it special in the first place?